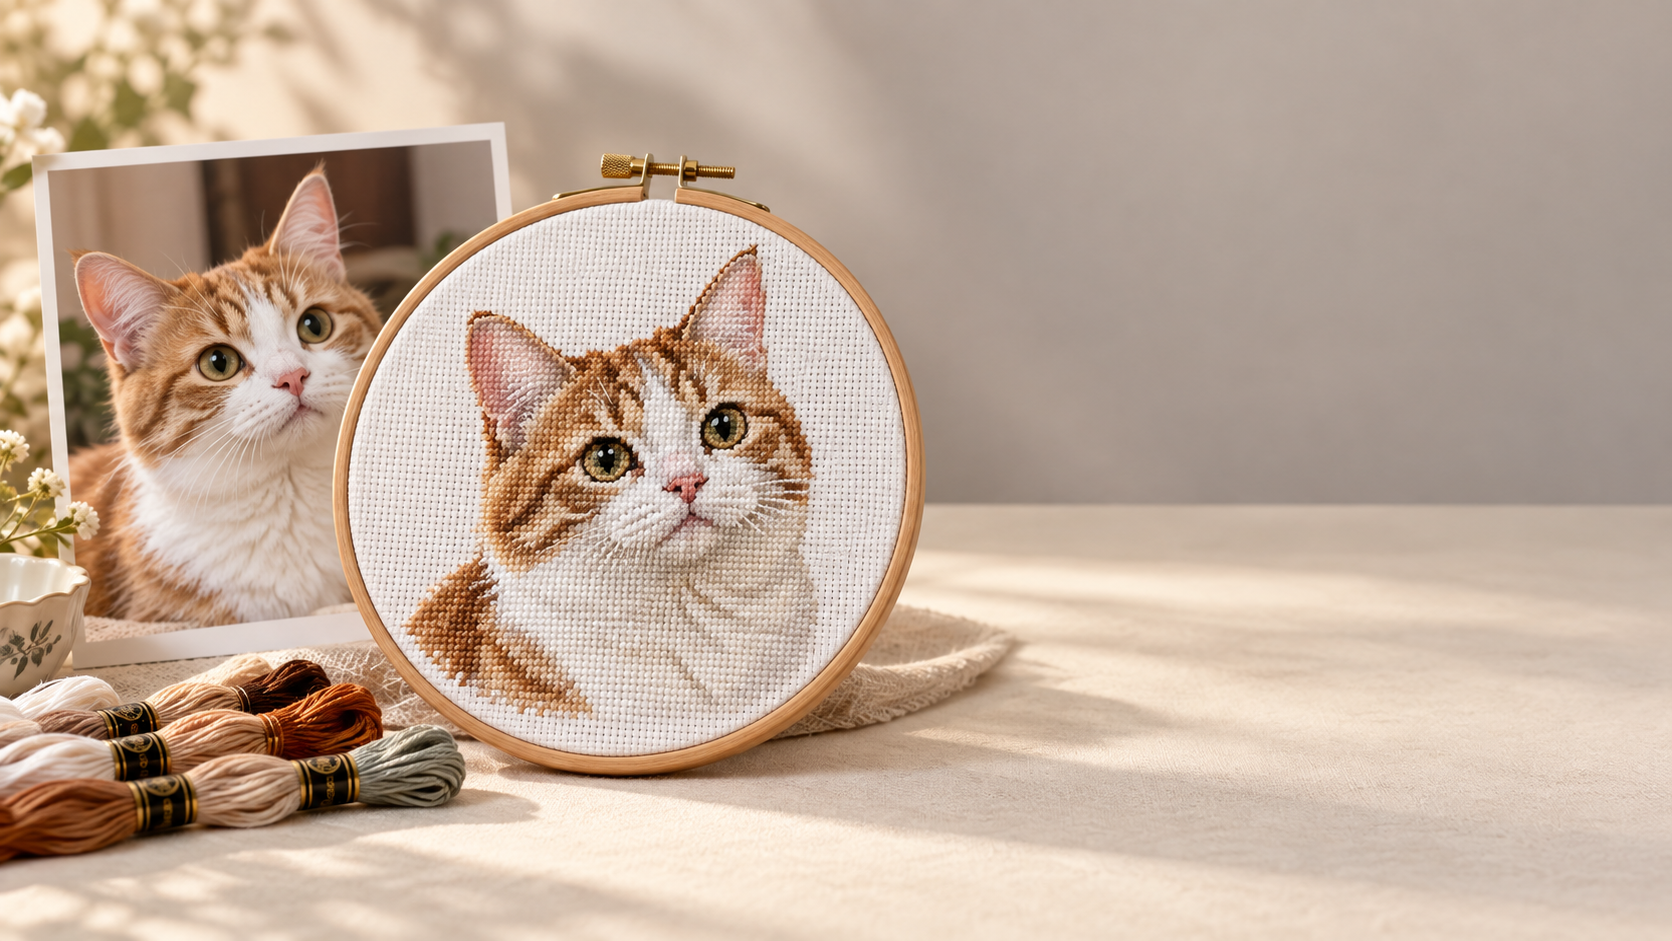
Personalized Cross Stitch Kits: Which Photos Make Clear Patterns?
A favorite photo can become a meaningful piece of home decor—but not every image translates into a clear cross stitch pattern. Lighting, background clutter, and the size of the subject all affect whether the finished stitching feels recognizable. A photograph that looks beautiful on your phone may lose its expression when reduced to a grid of colored squares.
When choosing a personalized cross stitch kit, look beyond the emotional appeal of the photograph. The best starting image usually has a clear main subject, visible defining features, and enough separation between light and dark areas. You do not necessarily need a professional portrait. You need a photograph that can survive simplification.
Choose the face, not just the favorite moment
For portraits, the subject’s share of the frame matters more than many buyers expect. A family standing beneath an enormous landmark may make a wonderful holiday photograph, but each face could occupy only a tiny part of the converted chart. No amount of extra thread colors can recover facial detail that has too few stitches to describe it.
A closer crop often solves this. Keep the head and shoulders, remove unnecessary sky or pavement, and check that the eyes and mouth remain distinct. With several people, choose a photograph where their faces are reasonably similar in size and nobody is hidden behind another person.
For pets, prioritize the features that make that animal recognizable: ear shape, muzzle markings, eye placement, or an unusual patch of fur. A black dog photographed against a dark sofa is a difficult source image, even when the original file is sharp. The silhouette and facial features need visible separation.
Lighting should reveal detail without creating noise
Soft daylight is often a useful starting point. It can preserve the transitions around cheeks, eyes, and fur without the deep shadows produced by harsh overhead light. Avoid portraits where one side of the face disappears into darkness unless you actively want a dramatic, simplified result.
Watch for these less obvious problems before uploading:
- Bright windows behind the subject: the background may be well exposed while the face is too dark.
- Strong beauty filters: softened skin and altered facial contours can remove useful reference detail.
- Colored party lighting: red or purple light may turn natural skin tones into large areas of unfamiliar thread colors.
- Heavy image compression: screenshots and messaging-app copies can introduce blocky artifacts that become unwanted stitches.
Use the original camera file when available. Increasing an image’s pixel dimensions does not restore missing detail, and sharpening cannot reliably fix motion blur. If the eyes already look indistinct in the original, another photograph is usually a better investment than extensive editing.
Match the photograph to the stitch grid
Ask for the chart dimensions in stitches, not just the finished dimensions in inches. These describe different things. Stitch dimensions determine how many grid positions are available for detail; fabric count determines how closely those stitches sit together.
For example, a design 140 stitches wide measures 10 inches across on 14-count Aida when worked over one square. The same chart measures 8.75 inches across on 16-count Aida. It becomes physically smaller, but it still contains the same 140 stitches across. Choosing finer fabric alone does not add facial detail.
That distinction matters when comparing kits. A single close-up portrait may suit a smaller chart, while a group portrait or detailed landscape usually needs more stitches, a tighter crop, or a willingness to accept a more impressionistic finish. A larger chart also means more stitching; it is not automatically the right choice for a first project.
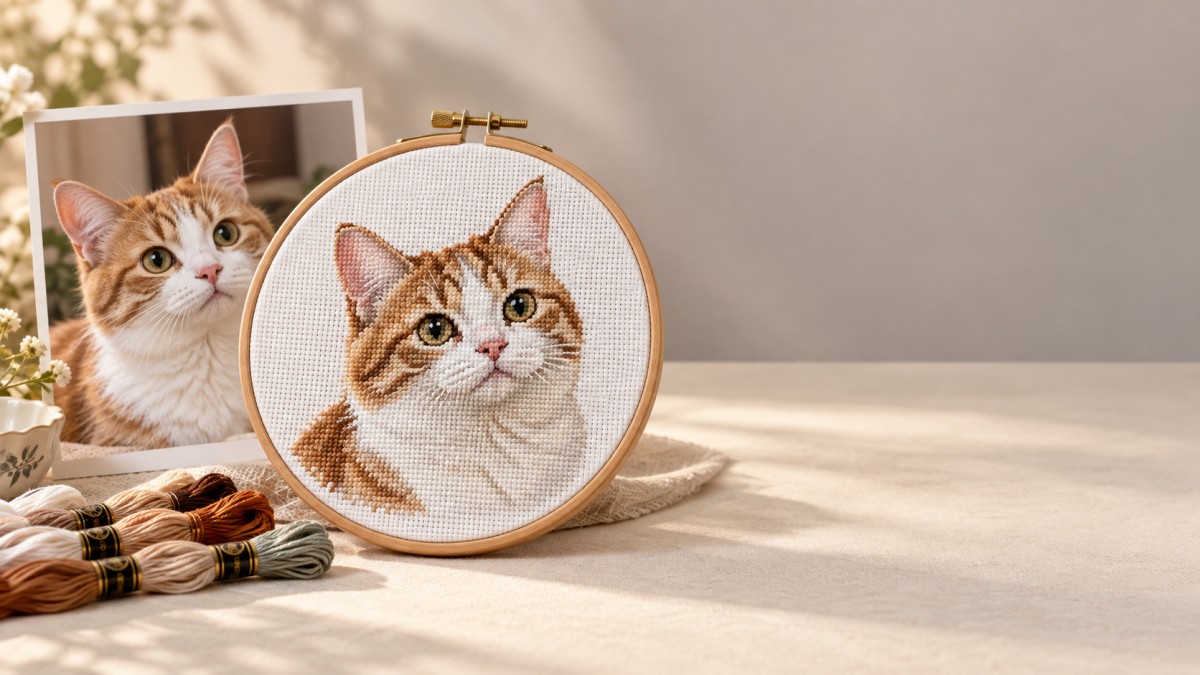
A useful comparison preview would show the original photograph, a tighter crop, and both converted at the same stitch dimensions. This reveals whether background removal helps more than simply increasing the overall design size.
Decide what belongs in the background
Not every background deserves stitching. Grass, patterned wallpaper, bookshelves, and scattered leaves can generate “confetti”: isolated stitches or small color changes spread throughout the chart. These may add work without making the main subject clearer.
Keep a background when it carries the story—a recognizable doorway, a wedding arch, or a coastline. Otherwise, ask whether it can be simplified, replaced with a limited-color field, or omitted. Confirm whether omitted areas remain unstitched, because the fabric color will then become part of the finished picture.
Seasonal portraits need particular restraint. A child’s Halloween costume may be worth preserving; every window ornament behind them probably is not. Keep temporary decorations separate from the permanent keepsake. For a party setting, Halloween Window Gel Clings Ghost Pumpkin Bat Witch Cat Boo Blood Decal Stickers for Halloween Home Party Window Decorations provide six sheets of soft TPR designs for smooth surfaces, removable for storage and later reuse. They can decorate the room without needing to become part of the stitched portrait.
Judge the conversion, not the promise of more colors
More thread colors can help with shading, but they can also introduce unnecessary complexity. A restrained palette with sensible color placement may look cleaner than a conversion packed with near-identical shades. The useful question is whether those colors preserve the expression, markings, and shape you care about.
Before ordering a personalized cross stitch kit, request a preview based on the actual chart dimensions and palette. A photograph with a decorative grid over it is not enough. Check the eyes, teeth, glasses, and the boundary between hair and background. If someone is recognizable only when you refer back to the original photo, reconsider the crop or chart size.
Ask whether the conversion receives manual review and whether revisions are available before production. Neither should be assumed. Also confirm the fabric count and color, thread identification, chart format, and whether the supplied fabric includes sufficient extra material for your intended finishing method.
Think about the finished object before placing the order
Our Ningbo-based home decor business operates two certified factories, one focused on handicrafts and another on wooden and fabric crafts, alongside established ceramics, plastics, and handwoven supply partners. That broader materials perspective makes one practical point relevant here: the image and its presentation should be considered together. Factory credentials alone do not establish the quality of a custom photo conversion.
Decide whether the stitching will sit in a hoop, a frame, or a fabric project before approving the crop. Leave room around important features and confirm finishing allowances separately from the stitched area. Then compare two or three candidate photographs at the intended chart size. Choose the one with the clearest expression and least distracting detail—not necessarily the most spectacular original photograph.
Leave A Message
If you are interested in our products and want to know more details, please leave a message here, we will reply you as soon as we can.

We specialize in supplying home decor, handicrafts, and daily necessities.


