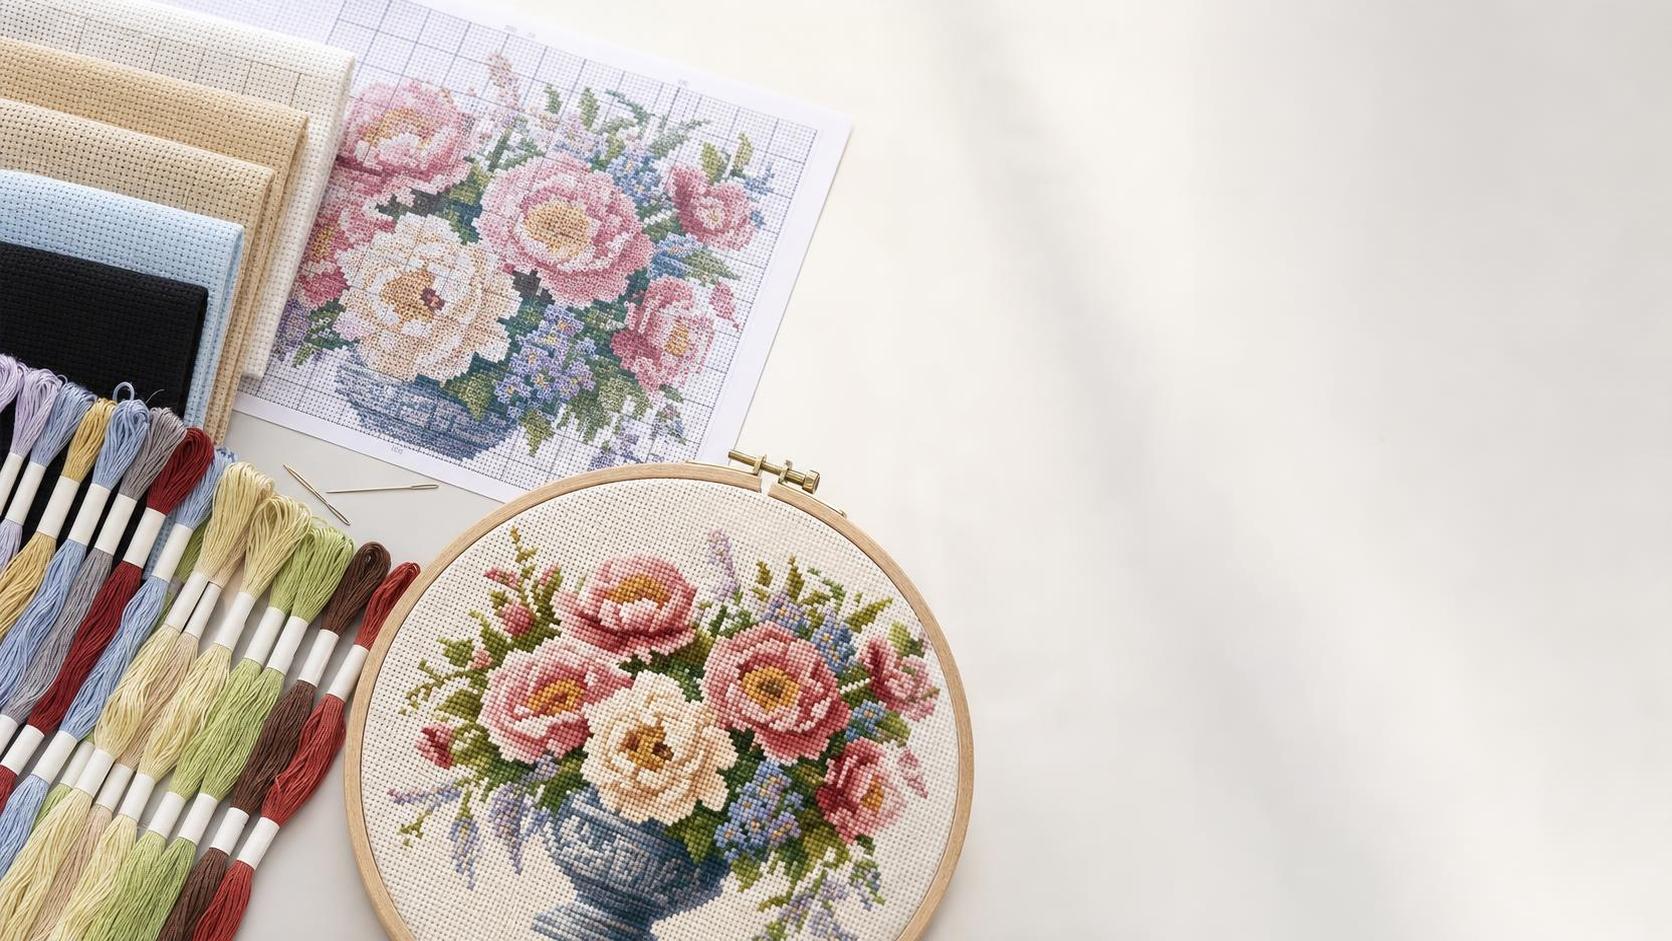
Start with the stitch count, not the package size
When buyers compare a Cross Stitch DIY Kit, the first mistake is judging size by the outer packaging or even by the finished dimensions printed on the front. What matters more is the stitch field: how many stitches wide and high the design actually is, and how that design sits on the fabric count used in the kit.
A design with a large finished size is not automatically more premium. Sometimes it is simply stitched on a lower-count fabric, which makes each cross larger and the picture less refined. For sourcing, ask for three pieces of information together: design stitch count, fabric count, and finished area including margin. If one is missing, the other two can be misleading.
A practical check: if the artwork is detailed faces, floral shading, or fine lettering, low fabric count can make the result look blocky. If the design is simple seasonal decor, a lower count may be acceptable and easier for casual users.
Check fabric count by target user, not by habit
Fabric count tells you how many squares or holes fit into one inch. In plain buying terms, it controls both appearance and difficulty. Higher count usually gives a finer image, but it also demands better eyesight, steadier stitching, and cleaner thread management. Lower count is more forgiving, especially for beginners and gift-market kits.
- Lower count fabric: easier to stitch, faster to finish, better for entry-level and children's ranges.
- Mid-range count: often the safest commercial choice because it balances detail and usability.
- Higher count fabric: better visual definition, but complaints increase if the kit is sold to hobby beginners without clear difficulty positioning.
Procurement teams often focus on price per set and miss the return-risk side. A kit that looks elegant in a sample room can underperform if the end user finds the fabric too dense to work comfortably. For home decor retail, fabric count should match the consumer promise on the box: relaxing craft, quick project, collector-grade detail, or premium display piece.
Do not approve fabric quality from count alone
Two kits can use the same count and still feel completely different in use. The real checks are grid regularity, hole clarity, stiffness, fraying behavior at the cut edge, and color consistency from lot to lot.
Here is where sample review should get stricter. Fold the fabric, open it, and see whether the weave stays even. Look for distorted holes near the edges. Check whether the fabric sheds heavily when handled. None of these points sounds dramatic, but all of them affect how neat the finished cross stitches will look. Uneven weave causes drifting lines, and that leads directly to customer frustration.
If the kit is positioned as a giftable decor item, fabric shade also matters. White, ivory, natural beige, and printed backgrounds each change the visual contrast of the thread colors. Buyers should review artwork and fabric color together, not as separate approvals.
Thread count is really a coverage question
Many sourcing discussions treat thread count as if more is always better. In practice, the key issue is coverage on the chosen fabric. If the thread is too thin for the fabric count, the base cloth shows through and the picture looks weak. If it is too heavy, stitches become bulky, corners crowd, and back-side tangling increases.
Ask the supplier how many strands are intended for stitching and whether that recommendation was tested on the included fabric. This matters because the same thread can behave well on one count and poorly on another. A clean sample card is useful, but a stitched strike-off is more trustworthy.
Count the margin around the design
This gets overlooked more often than it should. A kit may have the correct stitched area but still arrive with too little extra fabric for hooping, framing, or handling. Buyers should check border allowance on all sides. Without enough margin, the user struggles to mount the project, and the finished piece loses display value even if the stitching itself is fine.
For home decor channels, this is especially important because the product is often bought with display in mind. A wall-ready or frame-ready look starts with practical fabric allowance, not just a pretty chart.
Review chart readability as part of the kit specification
Size, fabric, and thread count can all be technically fine, and the kit can still fail at the user level if the chart is crowded. Dense symbols, low-contrast printing, or confusing color keys slow the project and increase perceived difficulty. That becomes a customer-service problem, not just a design problem.
A useful sourcing rule is simple: the more detailed the design, the more forgiving the chart must be. If the kit targets occasional crafters shopping for seasonal home decoration, readability matters at least as much as thread quality.
This is also where adjacent craft categories can help your range planning. A buyer building a holiday assortment might pair stitched products with easier decorative items such as Christmas Gel Window Clings - Xmas Santa Claus Snowman Snowflake Penguin Christmas Tree Gift Window Stickers for Kids. That kind of mix works when each item is positioned honestly by effort level and use scenario, whether for home, classroom, or party decoration.
Watch the packing details that signal production control
For a Cross Stitch DIY Kit, thread quantity, thread sorting method, needle count, fabric folding, and instruction placement all reveal whether the supplier understands repeatability. Missing or loosely managed components usually show up first in simple kits because there is nowhere to hide inconsistency.
- Check whether thread is pre-sorted or bundled by color code.
- Review whether the included needle matches fabric density and thread usage.
- Inspect folded fabric for hard creases that could distort the stitching area.
- Make sure all visual claims on the package match what is inside the set.
These are not minor finishing details. They affect returns, reviews, and replenishment confidence.
Use one approval sequence before placing volume orders
If you want fewer surprises, review kits in this order: design stitch count, fabric count, stitched sample coverage, border allowance, chart readability, then packing accuracy. That sequence catches the expensive mistakes early. It also keeps internal discussions focused, because each checkpoint answers a different question: how detailed the image is, how difficult it feels, how clean it looks when finished, and how reliably the set can be used right out of the package.
The best buying decision is usually not the largest kit or the one with the highest thread count on paper. It is the kit where size, fabric, and thread are matched properly to the intended customer and retail promise. That is what turns a sample that looks good on the table into a product that performs well once it reaches the shelf.
Leave A Message
If you are interested in our products and want to know more details, please leave a message here, we will reply you as soon as we can.

We specialize in supplying home decor, handicrafts, and daily necessities.


