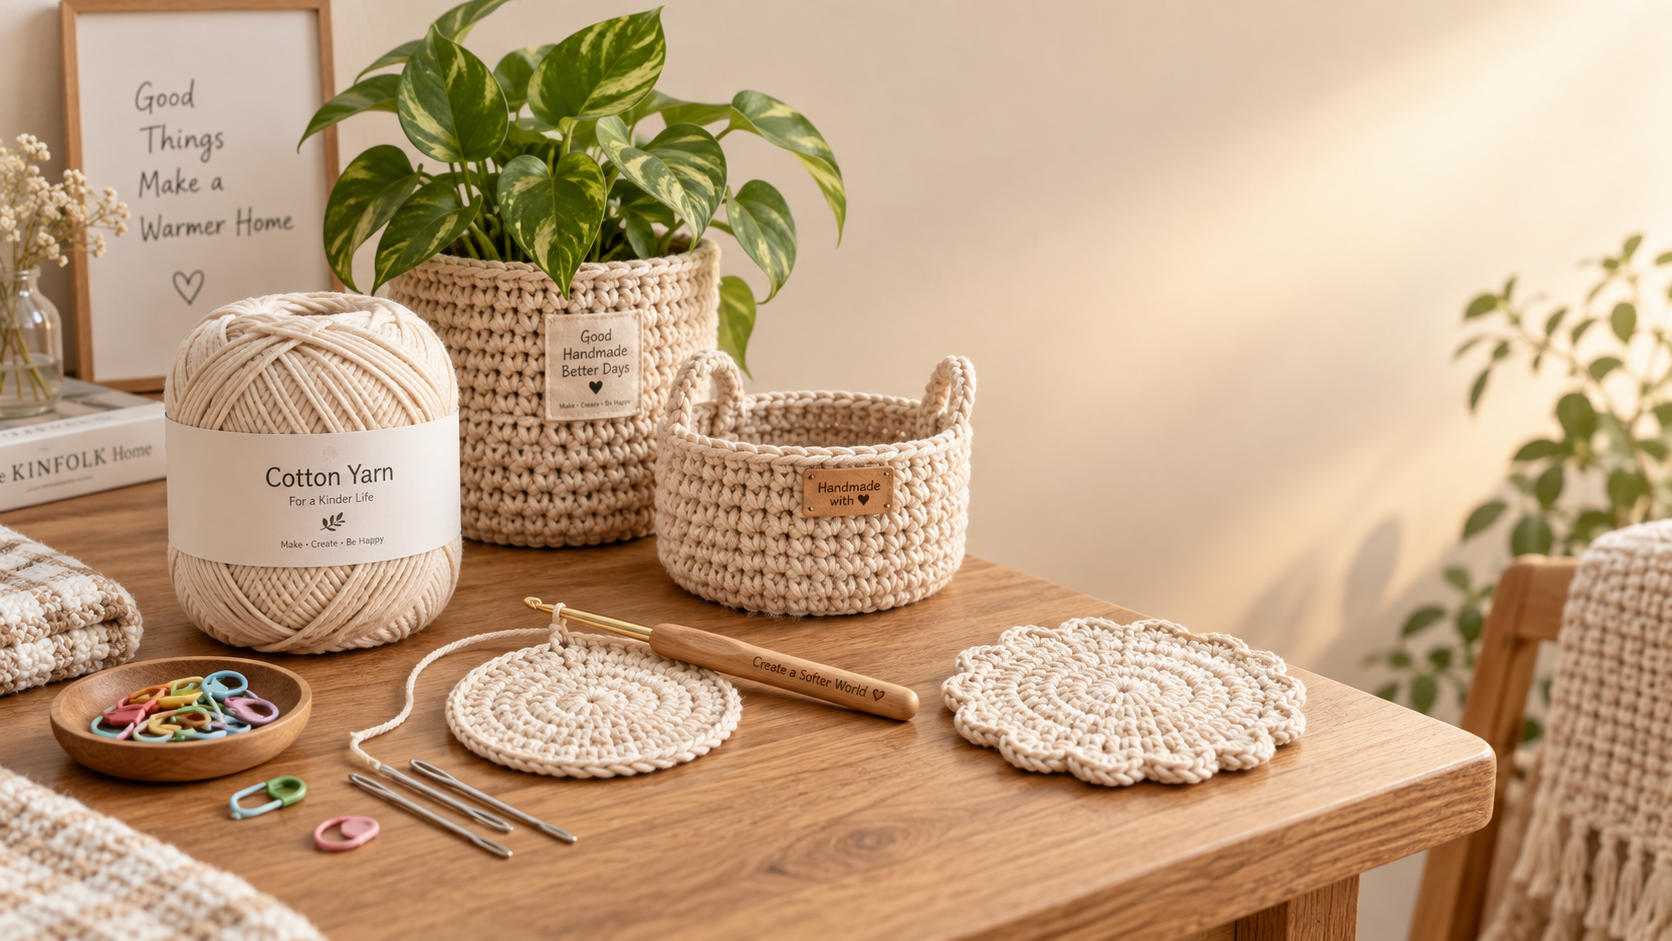
A beginner-friendly diy crochet kit should feel manageable from the first stitch to the final finishing step. The best choice is rarely the cutest project or the kit with the most materials. It is the one whose pattern, yarn, hook, and finishing requirements match what you can comfortably do today.
For a first project, choose a kit with one main stitch type, a small number of pieces, clear visual instructions, and a design that still looks complete if your tension is not perfectly even. Simple coasters, small baskets, plant-pot covers, basic garlands, and flat wall decorations are usually easier starting points than stuffed animals, fitted clothing, or detailed motifs.
Read the Pattern Before Choosing the Design
A kit may be labelled “beginner,” but that label is not always enough. Look at the actual pattern requirements. A suitable first pattern normally repeats the same few actions and lets you see progress quickly. If the instructions introduce several stitch types, frequent colour changes, shaping, sewing, embroidery, and assembly in one project, it is probably closer to an intermediate project.
Pay attention to these terms in the kit description:
- Foundation chain: a basic starting row. Most beginners can learn this quickly.
- Single crochet or double crochet: common stitches that work well for first projects when explained clearly.
- Working in rows: usually easier to follow than working continuously in a spiral.
- Increasing and decreasing: useful skills, but they add counting and shape control. Choose a project with only limited shaping at first.
- Magic ring: common in amigurumi projects, but often frustrating for a complete beginner because the starting point is tight and hard to see.
- Invisible stitch, colourwork, blocking, or sewn assembly: not impossible, but these steps make a kit less forgiving.
A pattern should also explain how to identify the first and last stitch in each row. Losing track of edge stitches is one of the most common reasons a beginner’s work gradually becomes narrower or wider than intended.
Choose Yarn That Helps You See Your Stitches
Yarn affects the learning experience as much as the pattern. Smooth, medium-weight yarn in a light or medium solid colour is usually the easiest option. It makes individual loops visible, so you can count stitches and correct a mistake without pulling apart more work than necessary.
Very dark yarn can hide stitch definition. Fuzzy, fluffy, chenille, velvet, eyelash, or heavily textured yarn may look appealing in finished home decor, but it makes it difficult to see where to insert the hook. These materials are better once you can recognize stitch structure by touch and habit.
For a first home decor project, cotton or a smooth cotton blend is often practical. It has enough structure for coasters, small containers, decorative potholder-style pieces, and wall accents. Softer acrylic yarn can be comfortable for lightweight garlands or decorative flowers, but check whether the project needs a firm shape. A floppy yarn and a pattern designed for structure can produce a result that does not sit or hang as intended.
The Hook and Accessories Should Reduce Friction
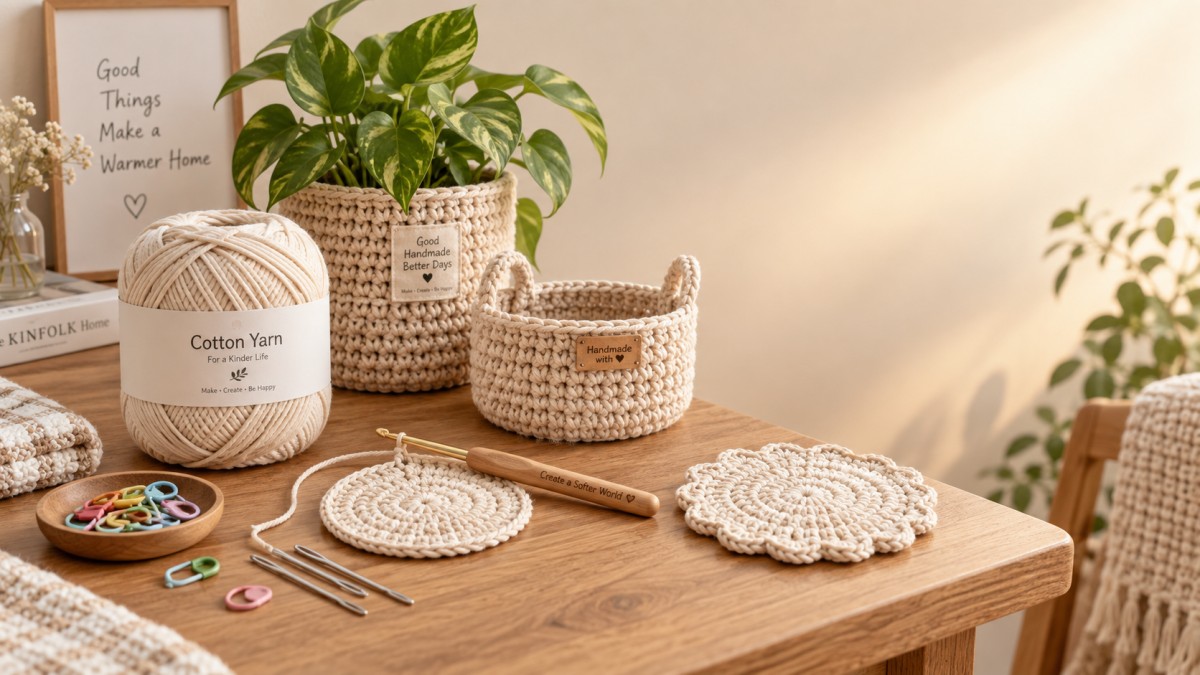
A complete kit should include a hook sized for the supplied yarn, but the hook itself matters. A comfortable handle helps during repeated practice, especially if you tend to grip tools tightly. The hook tip should slide into stitches without splitting the yarn, while still giving enough control to catch the working loop.
Useful beginner accessories include stitch markers, a yarn needle, and scissors. Stitch markers are more valuable than they may appear: they mark the beginning of a row or round, help count repeats, and make it easier to pause without losing your place. A yarn needle is needed for weaving in ends, which is the finishing step that keeps a decorative item looking tidy rather than improvised.
Match the Project to Where You Will Use It
For home decor, a first crochet project should have a purpose that does not demand perfect precision. A small bowl, coaster set, simple hanging ornament, or square cushion-front panel can still look intentional when minor variations appear. In contrast, a pair of matching items, a tightly fitted cover, or a symmetrical stuffed figure makes uneven tension more obvious.
Think about how the item will be used after it is finished. A coaster needs stable stitches and yarn suited to regular handling. A wall hanging can be more decorative and forgiving. A seasonal garland gives you room to practice repeated motifs without requiring every piece to be identical. If your goal is to refresh a room for a short occasion, combining a small crochet detail with removable decor can keep the project realistic. For example, reusable Halloween Window Gel Clings Ghost Pumpkin Bat Witch Cat Boo Blood Decal Stickers for Halloween Home Party Window Decorations can create an immediate seasonal display on smooth windows or glass, while a simple crocheted pumpkin garland or black-and-orange coaster adds a handmade element at a comfortable skill level.
Instructions Matter More Than the Number of Included Items
Do not assume a kit is easier because it contains everything. A kit with several yarn colours, decorative buttons, filling, beads, and multiple tools can create more decision points and more opportunities for confusion. For a beginner, well-designed instructions are the part that most determines whether the kit is usable.
Look for instructions that show the finished item, identify the yarn and hook used, explain stitch abbreviations, and separate the project into short stages. Photos should show hand position or stitch placement when a technique is new. Video access can be helpful, but it should support written instructions rather than replace them; beginners often need to pause, compare, and revisit a specific row.
A good pattern also states what to do when stitch counts differ from the expected total. This is more useful than a pattern that only presents the ideal result. Crochet is learned through small corrections, and a kit should make those corrections possible.
Do Not Buy a “Challenge Kit” for Your First Attempt
It is tempting to choose an ambitious project because the finished photo is attractive. That can work when you already know basic stitches, but not when you are still learning yarn tension, turning chains, and hook control. The risk is not simply that the project takes longer. Repeated confusion can make crochet feel harder than it is.
Choose a slightly simpler design than your ideal final project. Finishing one small item teaches the full workflow: starting, maintaining tension, counting, correcting mistakes, fastening off, and weaving in ends. Those skills transfer directly to more detailed decor projects.
A Practical Buying Check Before You Commit
Before selecting a kit, confirm five points: you can identify the main stitch used; the yarn is smooth enough to see; the hook size matches the yarn; the instructions include clear images or diagrams; and the finished item does not depend on exact symmetry or advanced assembly.
If one kit offers a more exciting design but another offers clearer instructions and easier yarn, choose the easier learning experience. A completed first piece, even a modest one, gives you a reliable base for the decorative projects you actually want to make next.
Leave A Message
If you are interested in our products and want to know more details, please leave a message here, we will reply you as soon as we can.

We specialize in supplying home decor, handicrafts, and daily necessities.


