
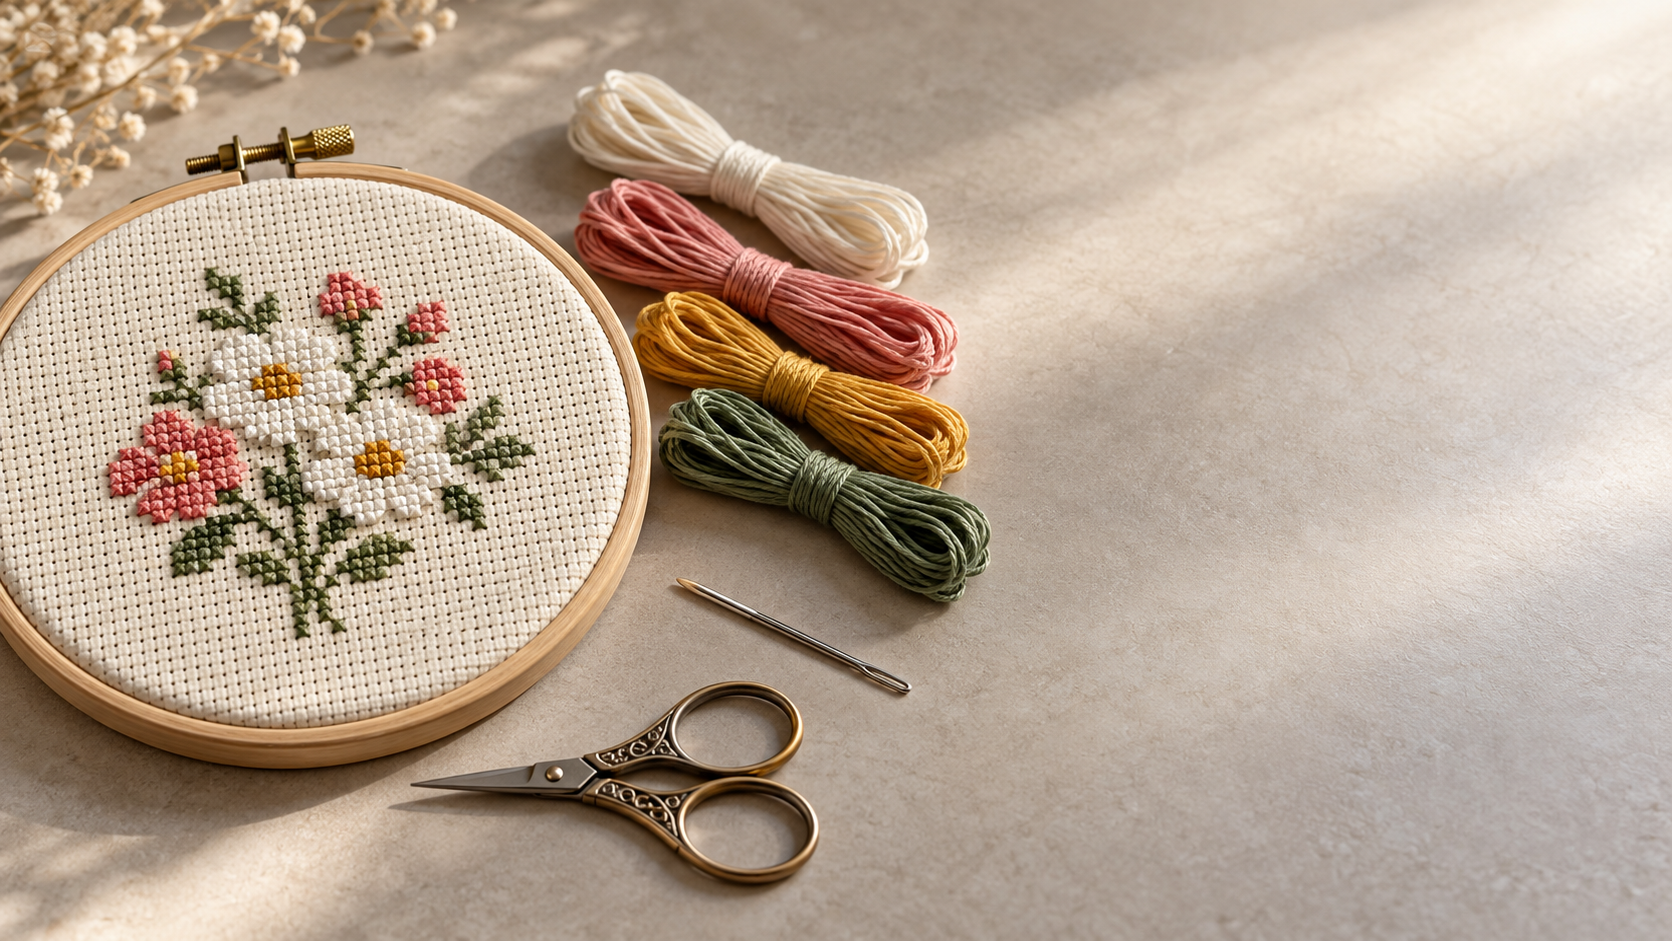
Your first cross stitch project should feel relaxing. For most beginners, a small design on 14-count Aida with clear instructions is a practical starting point.
Choosing a cross stitch kit for beginners becomes easier when you understand fabric count, finished dimensions, and which supplies the package actually includes before buying.
Whether you want a framed accent or a handmade gift, prioritize comfortable stitches, a readable chart, and manageable coverage over an impressive picture on the packaging.
What Makes a First Kit Easy to Finish?
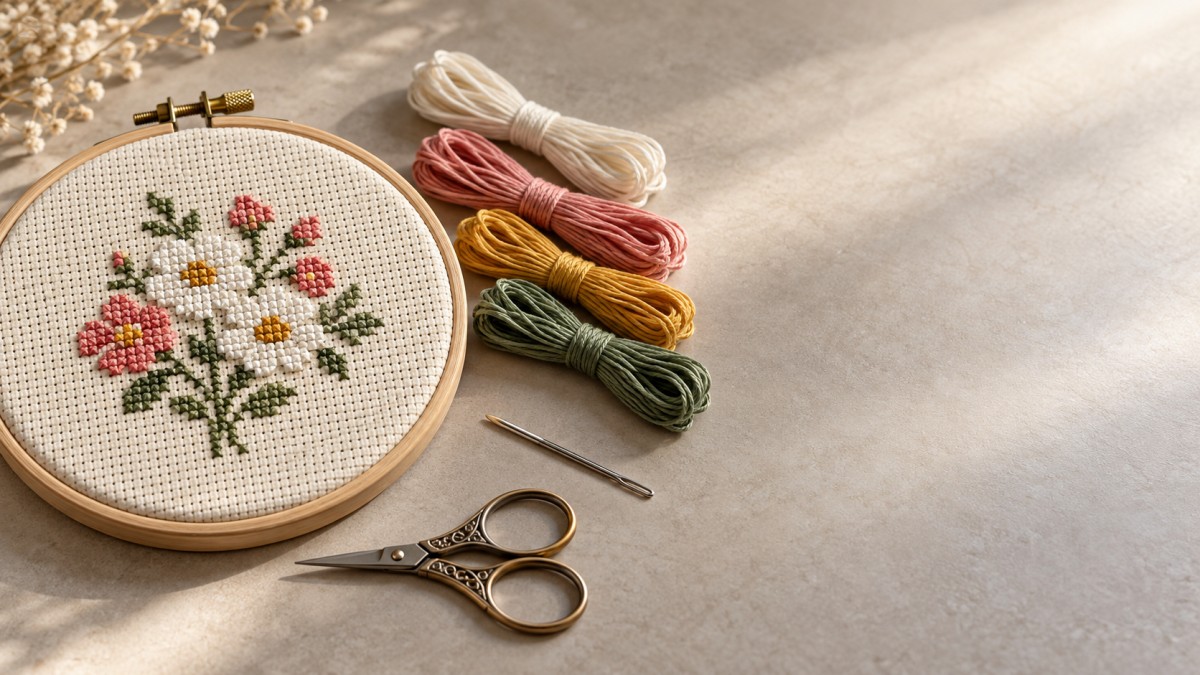
Look for a design around 40–60 stitches across, a modest color palette, and mostly full cross stitches. These features make progress easier to see and follow.
Simple flowers, geometric motifs, and small seasonal decorations often work well. Check the actual chart: a tiny illustration can still involve frequent color changes and fiddly details.
Avoid judging difficulty by finished dimensions alone. A small, densely stitched portrait can demand much more concentration than a larger design with generous unstitched background areas.
For your first project, favor clearly separated color blocks. Extensive backstitch outlines, fractional stitches, metallic threads, and scattered single stitches add techniques you may prefer learning later.
A useful listing shows the finished sample, fabric type, stitch dimensions, and contents. If these details are missing, choosing confidently becomes harder, regardless of the advertised skill level.
Should You Choose 11-, 14-, or 16-Count Fabric?
On Aida fabric, count describes the number of squares per inch. When you stitch one cross over each square, it also determines your stitches per inch.
Lower counts create larger stitches and larger finished designs from the same chart. Higher counts produce smaller stitches, which can require better lighting and closer attention.
For many adults, 14-count Aida offers a comfortable balance between visibility and finished size. Choose 11-count if larger holes make stitching more comfortable for you.
Sixteen-count fabric can suit a beginner who enjoys detailed work and sees the holes comfortably. It is an option, rather than a necessary upgrade in quality.
Fabric color matters too. White, cream, and other pale shades usually make holes easier to distinguish than dark fabric, especially during evening stitching sessions at home.
Check that the kit specifies Aida. Linen and evenweave may use different stitching arrangements, so the fabric count alone does not always predict finished stitch size.
How Big Will the Finished Pattern Actually Be?
Calculate the stitched area by dividing the chart’s stitch width and height by the Aida count. This gives the design dimensions in inches for each direction.
For example, a pattern measuring 56 by 70 stitches on 14-count Aida produces a stitched area measuring 4 by 5 inches before adding any surrounding border.
The stitched area is different from the fabric size. You need extra fabric around the design for handling, hoop placement, and the finishing method you choose.
For a first framed piece, allowing around three inches of extra fabric on each side is useful. Confirm your intended frame or mounting method before cutting.
That 4-by-5-inch design would therefore use approximately 10-by-11-inch fabric with these margins. A kit may provide different margins, so inspect the stated fabric dimensions before purchasing.
Also check what sellers mean by “size.” The measurement might describe the fabric, stitched design, hoop diameter, or outer frame, and these measurements are not interchangeable.
What Should Your Cross Stitch Kit Include?
A suitable cross stitch kit for beginners should provide the correct fabric, embroidery floss, a tapestry needle, a readable pattern, and instructions explaining the stitching techniques.
Pre-sorted floss saves preparation time. Ideally, each color has a number matching the chart key, so you can identify similar shades without relying on appearance alone.
Check whether the pattern uses clear symbols as well as colors. Symbols remain useful when shades look similar or you print a digital chart in grayscale.
A printed fabric kit places guides directly on the cloth; counted cross stitch typically uses blank fabric and a separate chart. Read which format you are buying.
For printed fabric, check whether the markings wash out and follow the supplied removal instructions. Avoid applying heat before confirming how those guides should be removed.
Look for instructions covering starting, finishing, thread separation, and strand count. A package labeled “complete” may still exclude scissors, a hoop, or the pictured display frame.
Which Tools Do You Actually Need?
Beyond the supplied materials, sharp embroidery scissors and good lighting are the most useful basics. A hoop can help maintain even fabric tension while you learn.
A blunt tapestry needle passes through Aida holes without easily splitting the fabric threads. Size 24 is commonly suitable for 14-count Aida, depending on floss thickness.
Use the kit’s recommended strand count. Embroidery floss commonly contains six separable strands, but stitching with all six can make standard 14-count work unnecessarily crowded and difficult.
Two strands are common for full crosses on 14-count Aida, though the design may specify otherwise. Separate the required strands and recombine them before threading your needle.
If you buy a hoop separately, choose one you can hold comfortably. A small design does not require a large hoop, and excess weight can become tiring.
A needle threader, magnifier, or needle minder can help with specific frustrations. You can add these later after discovering what would make your own stitching easier.
How Can You Avoid the Most Common First-Project Problems?
Read the instructions before making the first stitch. Fold the fabric gently in both directions to locate its center, then match that point to the chart.
Check the pattern’s suggested starting position. Starting near the center usually helps preserve margins, while a different starting point requires careful counting before you begin stitching.
Keep the top arm of each cross pointing in the same direction. This simple habit gives the finished surface a more consistent appearance across different colors.
Pull thread snugly without distorting the holes. If the fabric puckers or the stitches sink deeply into it, ease your tension and check the hoop adjustment.
Count frequently around gaps and color changes. Catching a misplaced stitch early usually means undoing a few crosses instead of discovering a shifted section much later.
Avoid promising yourself a fixed completion time based only on dimensions. Stitch coverage, color changes, and your pace all affect how many sessions a project takes.
How Will You Display or Give Your Finished Piece?
Choose the finishing method before buying: a display hoop, small frame, ornament, or greeting card. Confirm whether the necessary backing and mounting materials come with the kit.
For a holiday display, pair your stitched ornament with Christmas Gel Window Clings - Xmas Santa Claus Snowman Snowflake Penguin Christmas Tree Gift Window Stickers for Kids.
These reusable soft TPR decorations suit seasonal window displays. Follow the surface guidance, supervise young children, and store the pieces carefully for use the following year.
Your First Kit Buying Checklist
Before checkout, confirm the Aida count, stitch dimensions, fabric dimensions, chart format, and included tools. Look closely at whether the design uses techniques beyond full crosses.
Choose a subject you enjoy, with visible fabric holes and a chart you can comfortably read. Those practical details matter more than buying the largest available kit.
A small, clearly documented kit on comfortable fabric gives you room to learn and finish something worth displaying. Let your next project add complexity when you feel ready.


