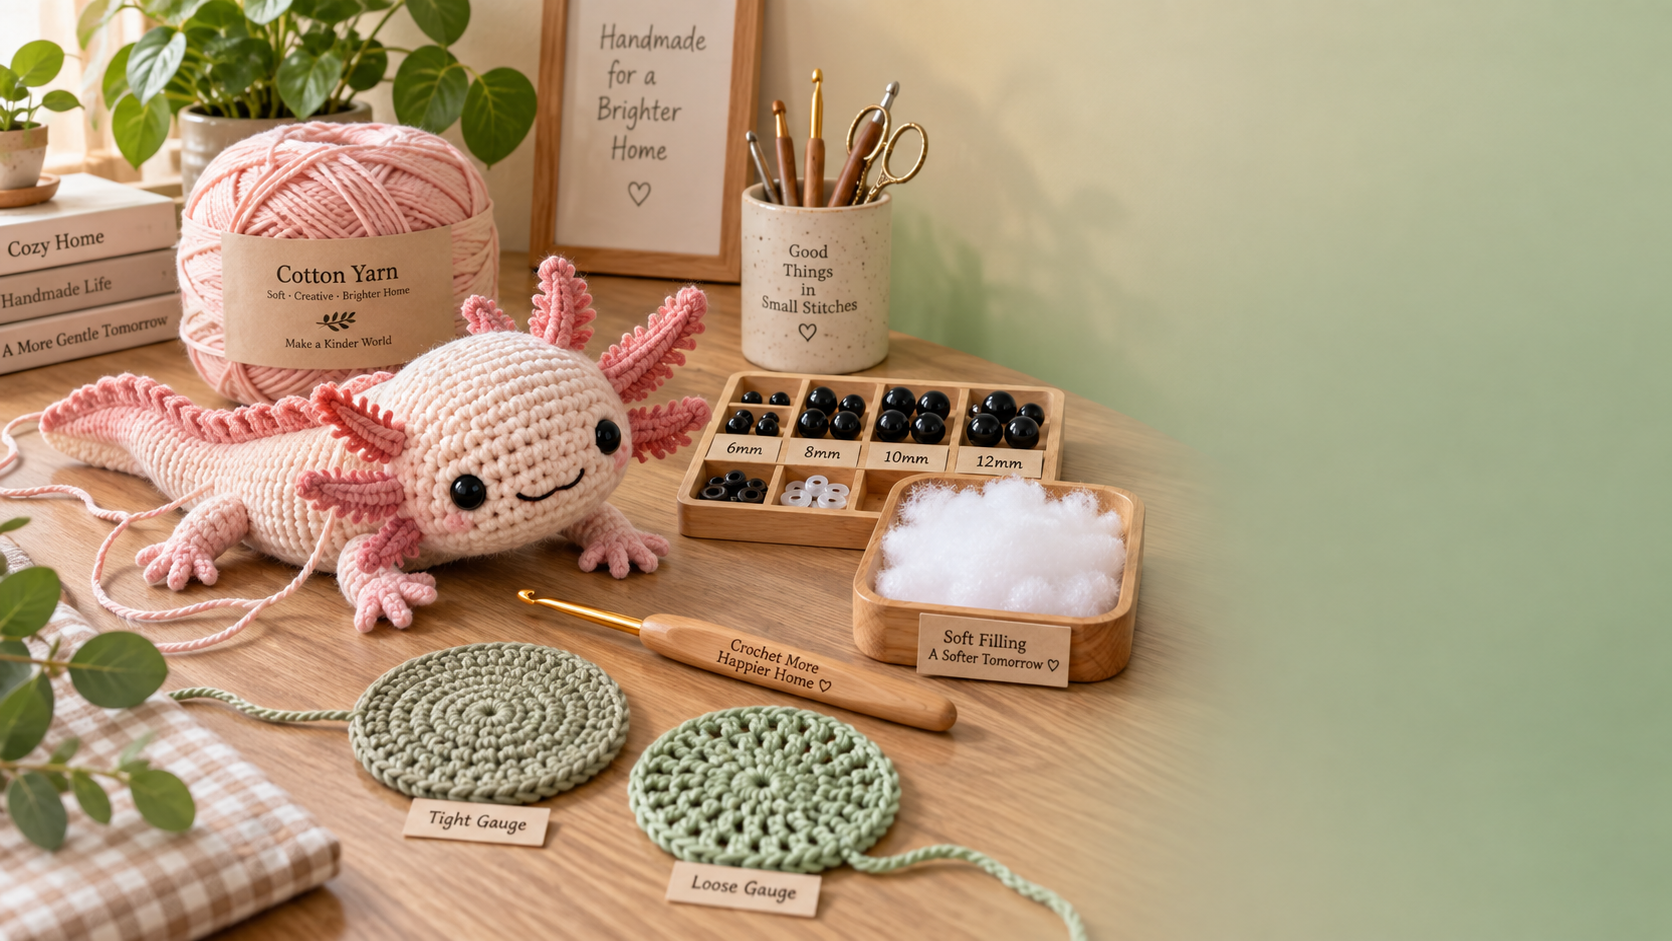
A DIY crochet kit is supposed to turn a quiet afternoon into a small, satisfying home décor project. It becomes frustrating when the yarn keeps splitting, a required piece seems to be missing, or the finished shape looks wider, tighter, or flatter than the instructions show. These problems are usually fixable without starting over. The most effective approach is to pause, identify the symptom, and correct the specific part of the process causing it.
For most projects, split yarn is a handling issue, missing parts are often a packing or pattern-reading issue, and gauge differences come from stitch tension, hook choice, or stitch height. Addressing them early prevents a small mistake from affecting stuffing, shaping, seams, or the final appearance of a crocheted decoration.
When the yarn splits instead of forming a clean stitch
Split yarn happens when the hook catches only some strands of a yarn ply rather than passing beneath the whole strand. The next loop may look fuzzy, thin, or uneven. It is especially noticeable with soft yarn, loosely twisted yarn, chenille-style yarn, and smaller crochet pieces where each stitch is easy to see.
Start by looking at the hook rather than pulling harder on the yarn. A hook with a rough point, nicked throat, or overly sharp tip can separate fibers. Rotate the hook slightly downward as it enters the stitch, then flatten its angle while pulling the loop through. This motion helps the hook slide under the full stitch instead of piercing the yarn.
Recovering a split stitch
Do not continue crocheting over a badly split loop unless the project uses a very textured yarn and the stitch will be hidden. In visible areas, undo the last stitch or two and remake them. Trying to tug a split stitch into shape often tightens the surrounding loops and makes the repair more obvious.
- Insert the hook under both top loops of the next stitch, not between them.
- Use enough light to distinguish individual strands, especially with dark colors.
- Keep the working yarn moving smoothly; jerky pulling increases fraying.
- Loosen an overly tight stitch before drawing yarn through it.
- When a yarn end begins to fuzz, trim only the loose fibers; do not cut into the structural strands.
A hook that feels too small can make splitting worse because it must force its way through a compact stitch. Moving up one hook size may help while practicing, but check gauge afterward. A larger hook changes the size and density of the fabric.
Some crochet kits include soft, cozy yarn because it gives small figures and desk décor a gentle appearance. That softness can require slower stitch placement at the beginning. Once the first few rounds are clean and your hand tension settles, the yarn usually becomes easier to manage.
A “missing” part may be in the kit—or in the pattern
Before assuming a component is absent, lay out every item on a plain surface and compare it with the instructions. Small safety eyes, stitch markers, needles, stuffing packets, and decorative pieces can be tucked inside folded paper, caught in yarn labels, or mixed with packing material. A missing item is disruptive when you are ready to assemble, so it is better to inspect the contents before making the first stitch.
Read the materials list carefully. Some patterns name tools that are useful but not always included, such as scissors, a measuring tape, a row counter, or a tapestry needle. The pattern may also show an optional detail, such as a bow, tag, or alternate facial expression, that is not required for the basic version.
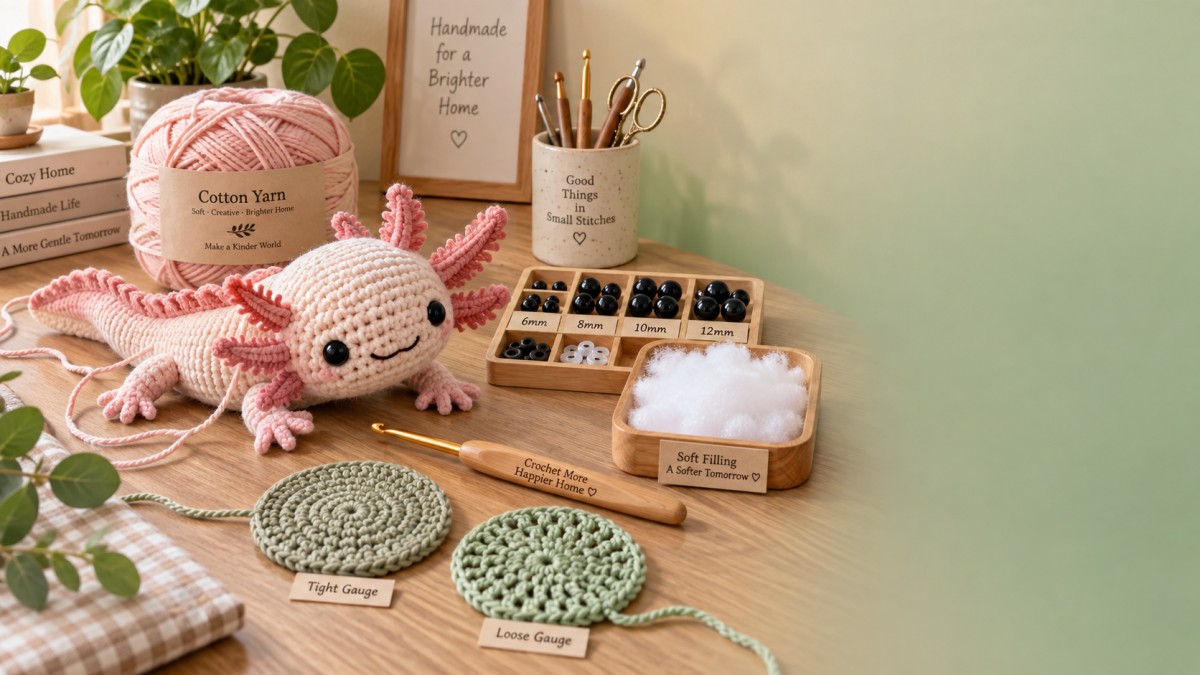
Sort the project into “required now” and “needed later”
Place the yarn, hook, and pattern together for the first stage. Keep stuffing, eyes, thread, and finishing accessories in a small tray or envelope until assembly. This reduces the chance that a tiny piece disappears under yarn scraps while you work.
When a part genuinely is not present, avoid substituting something immediately if the component affects safety, balance, or structure. For example, a much larger pair of eyes can stretch a small crocheted face; different stuffing can alter the firmness and shape. Temporary substitutions are more suitable for non-structural details, such as using embroidery thread for a small smile or a scrap of matching yarn for a decorative accent.
If the project is intended as a cheerful handmade gift or display piece, it can be useful to review the finishing elements before committing to a substitute. A product such as Positive Crochet Salamander Birthday Gifts for Women Men Teacher Appreciation Mothers Day Graduation Gift Adult Kids Son Mom Dad Daughter Sister Friend Coworkers Self Care Emotional Inspirational Support is designed around soft yarn, desk décor appeal, and a lovely pun card. In this type of item, the card and small presentation details contribute to the intended emotional-support purpose, even though they do not change the crochet construction itself.
Gauge is not just a clothing-project issue
Gauge means the number of stitches and rows that fit within a given area. In small crochet figures, ornaments, and home decorations, gauge affects more than overall size. It determines whether stuffing shows through, whether the fabric holds its shape, whether attached pieces align, and whether safety eyes fit in the intended locations.
A project can look wrong even when every stitch count is correct. A tight crocheter may produce a smaller, stiff fabric with barely visible stitch openings. A loose crocheter may create a larger piece with gaps that reveal stuffing. Neither result means the pattern is bad; it means the hook, yarn, and tension need to work together.
Make a small test before committing to the body
For a rounded amigurumi-style item, a short swatch is often less useful than a small sample circle worked in the same stitch and rounds as the project. Crochet several rounds, inspect the gaps, and gently stretch the fabric. It should be firm enough to contain stuffing without becoming rigid or painful to work.
Measure only after the sample rests flat. Pulling it while measuring creates a misleading result. If the instructions provide finished dimensions but no formal gauge, compare your early rounds with the stated shape and use the fabric density as the deciding factor. The goal is a consistent surface rather than an exact millimeter match.
Uneven rounds, drifting markers, and shape problems
Gauge problems often appear alongside counting errors. In continuous spiral crochet, the start of the round can become difficult to identify after several rows. Missing one stitch early may shift eye placement, produce an off-center head, or make two limbs different widths.
Place a removable marker in the first stitch of every round and move it upward as you continue. Do not rely on the yarn tail as a marker; it quickly becomes hard to locate. Count stitches at the end of each round, particularly after an increase or decrease round. This takes less time than unraveling a completed section.
When decreases leave noticeable holes, use an invisible decrease if the pattern allows it: insert the hook through the front loops of the next two stitches, yarn over, pull through both front loops, then complete the stitch. The decrease is less bulky and helps create a smoother stuffed shape.
Restart only when the structure is affected
Not every imperfection needs to be undone. A slightly uneven tension line may disappear after stuffing or be positioned at the back of a display piece. Restarting is more sensible when the stitch count is wrong, the fabric has repeated large gaps, a key attachment point is misplaced, or one section cannot match its paired section.
Keep a short note of the hook size, yarn color changes, completed round number, and any adjustment made. This is particularly helpful when the project is paused for several days. A diy crochet kit becomes much easier to finish when you can resume from a clear stopping point rather than trying to reconstruct your last steps from the stitches alone.
Clean stitch placement, early content checks, and a quick gauge sample solve most kit-related setbacks. Once the foundation is even, the finishing work—stuffing, sewing, adding expressions, and preparing a small handmade décor piece for display or gifting—becomes far more predictable.
Leave A Message
If you are interested in our products and want to know more details, please leave a message here, we will reply you as soon as we can.

We specialize in supplying home decor, handicrafts, and daily necessities.


