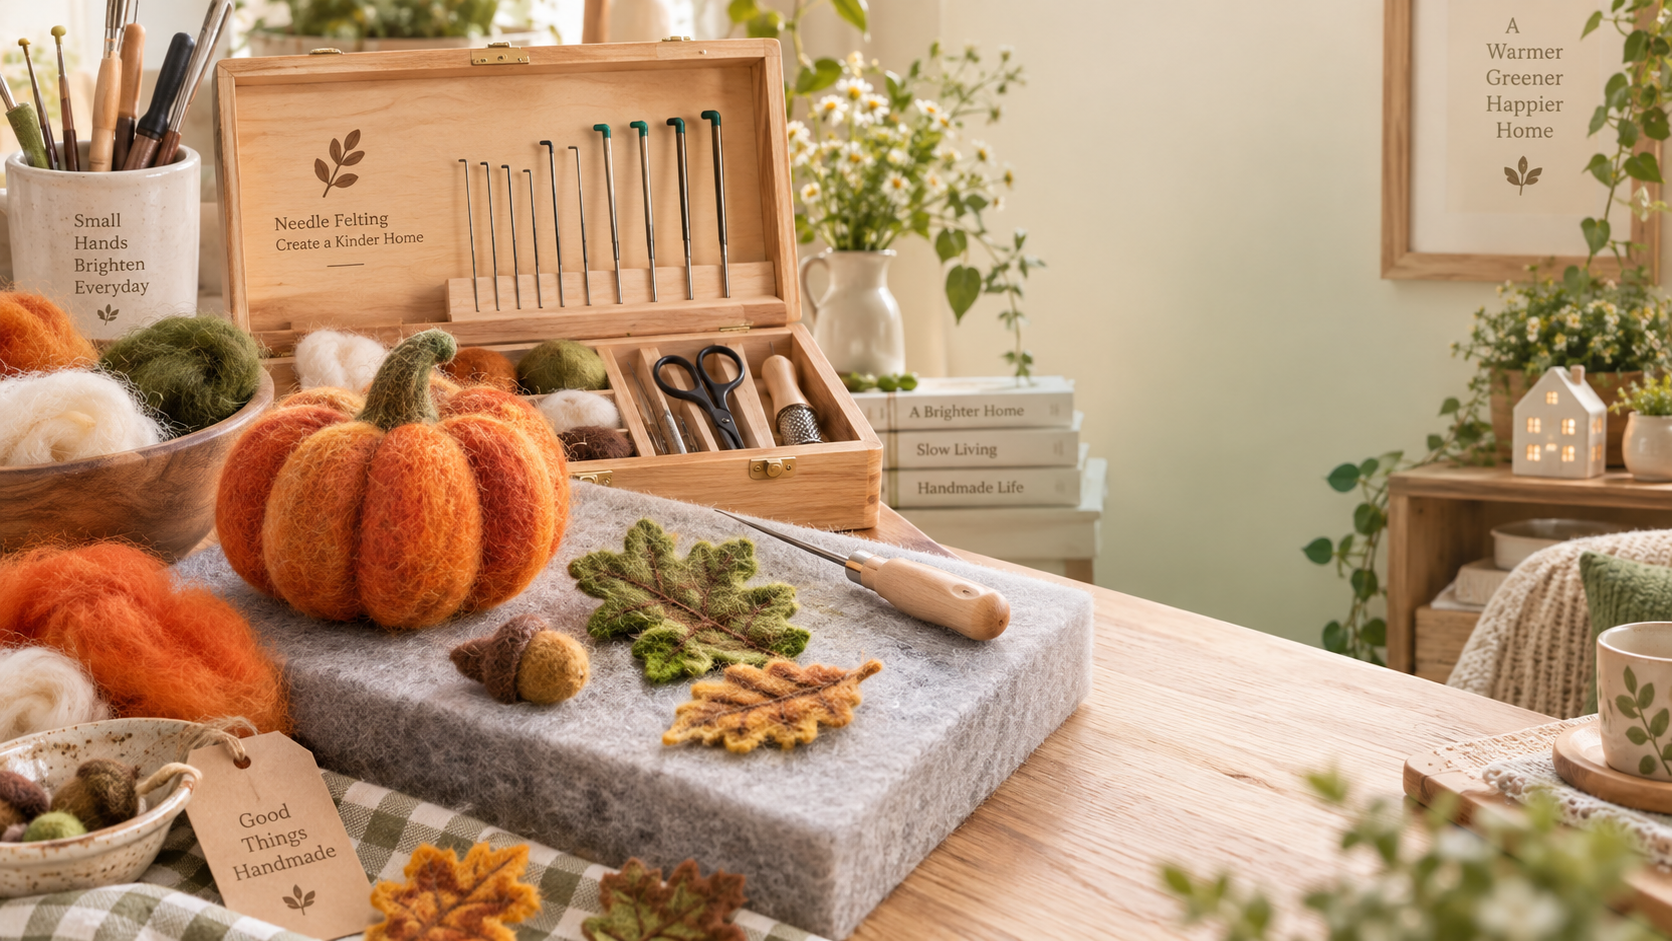
A snapped felting needle has a way of interrupting the best part of a project. You may be shaping a small animal, adding leaves to a wool wreath, or finishing a handmade ornament for a shelf display—then the needle suddenly breaks, often close to the working end. For anyone using a needle felting kit, this is one of the most common frustrations. The good news is that most breakages are not random. They usually come from a few repeatable handling and material issues that can be corrected with a little attention.
Felting needles are intentionally thin, sharp tools with tiny barbs along the shaft. Those barbs pull and lock wool fibers together, but they also make the needle less forgiving than an ordinary sewing needle. A slight sideways movement, a hidden hard spot in the wool, or an unstable work surface can put stress on the narrow metal shaft. Understanding where that stress comes from helps users work more safely, waste fewer needles, and get cleaner shapes from their handmade home decor projects.
The main reason needles break: side pressure
A felting needle is designed to move straight in and straight out. It is not designed to pry, stir, twist, or pull fibers sideways. When users angle the needle during a stabbing motion, the shaft bends inside the wool. Even if it does not snap immediately, repeated bending weakens the metal until it eventually breaks.
This commonly happens when working around curves. For example, someone making a round felted pumpkin may keep the needle angled to reach the side of the form. Instead, turn the wool piece in your hand or reposition it on the foam pad so the needle can still enter vertically. The project moves; the needle stays straight.
Another frequent habit is pulling the needle out at a different angle from the one used to insert it. This creates a small lever action below the surface of the wool. The motion may feel minor, but thin felting needles react to minor errors. Slow down when withdrawing the needle, especially in firm or densely felted areas.
Too much force does not make wool felt faster
When fibers are loose, it is tempting to push hard and deep in the hope of building shape quickly. Heavy pressure can drive the needle through the wool and into the work mat, where it may bend or strike a hard surface underneath. It can also cause the needle to catch in tightly compacted fibers.
Rather than using force, use rhythm. Make controlled, repeated vertical punctures and allow the barbs to do their job. For flat appliqué, shallow strokes are often enough. For three-dimensional figures, begin by attaching and shaping layers gradually. A small amount of wool added in stages is easier to control than one thick bundle that must be compressed all at once.
If the wool stops changing after many punctures, do not respond by pushing harder. Check whether you are using the right needle gauge and whether the core has already become dense. At that point, a finer needle may be better for smoothing the outer surface, while a coarser needle is usually more suitable for joining loose fibers or building volume.
Match the needle to the stage of the project
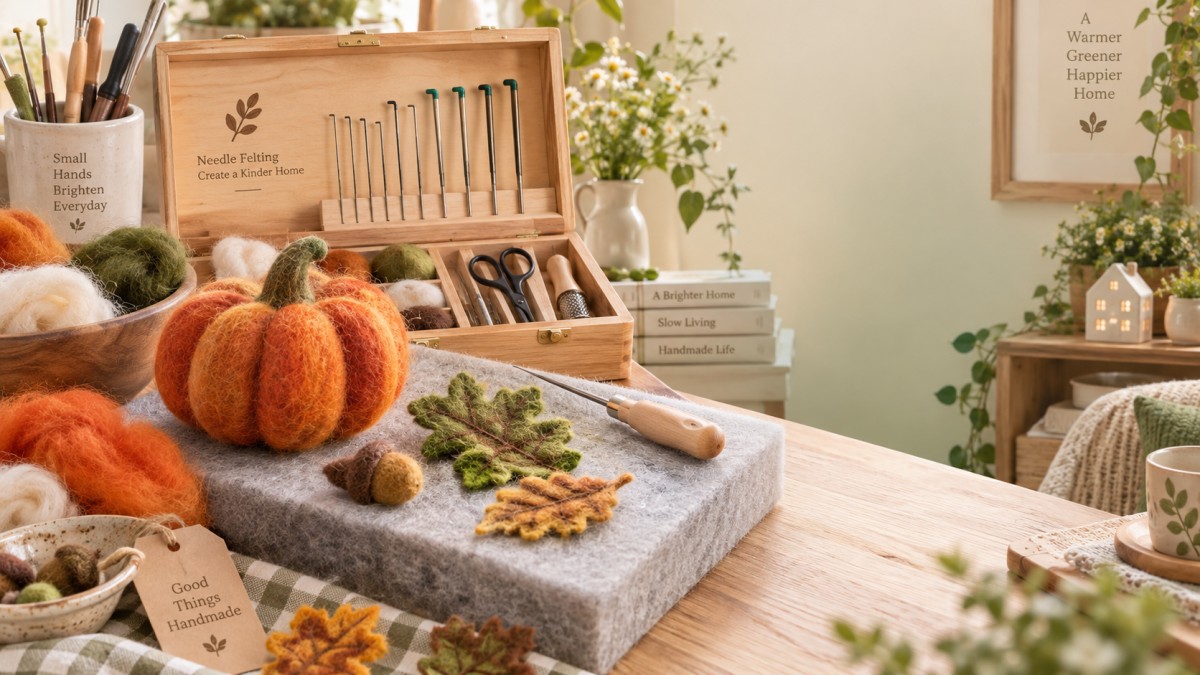
Not every needle in a needle felting kit serves the same purpose. Coarse needles tend to work faster on loose wool and larger forms, but they leave more visible marks. Fine needles are useful for detail work, facial features, edges, and a smoother finish. Star-shaped and spiral needles may create a more even surface, depending on the fiber and desired result.
Using a delicate fine needle for the first heavy shaping stage can lead to bending and early wear. On the other hand, using a coarse needle repeatedly on a compacted small detail can tear fibers or make the surface look rough. Think of the process as moving from construction to finishing:
- Use a sturdier needle to anchor loose wool and create the basic form.
- Switch tools when the core begins to feel firm.
- Use finer needles with lighter strokes for neat contours and surface refinement.
Needle choice also depends on the wool itself. Coarse, natural wool roving can be very responsive for sculpting, while silky or short fibers may need more careful handling. Wool blends, pre-felt sheets, and fabric-backed pieces create different resistance levels. Before committing to a detailed project, test a few strokes on an offcut or spare tuft. This simple habit can prevent an unpleasant surprise halfway through a finished decoration.
Your work surface matters more than it seems
A suitable felting pad cushions the needle as it passes through the wool. Foam blocks, brush mats, and dense wool pads are all common choices, but they behave differently. A thin or worn-out foam pad may allow the needle to hit the table below. A surface that is too hard offers no protection, while an overly soft or uneven surface can make it difficult to keep the needle vertical.
Inspect the mat before beginning. Deep holes, compressed areas, or loose foam fragments make the work less stable. If the pad has become very uneven, rotate it, replace it, or use a fresh section. Keep the work surface on a firm table rather than on your lap or a cushioned sofa, where the angle of your hand can change without notice.
For small shapes, hold the wool gently but keep fingers away from the needle path. Finger protectors can be helpful for beginners and for detailed work. They do not replace careful positioning, but they can make users less tense—and tense hands are more likely to twist or force the needle.
Dense areas, wire armatures, and hidden obstacles
A needle may also break because it meets something it was never meant to penetrate. Common examples include wire armatures, wooden bases, buttons, beads, thick seams, and hard glue spots. If your project has a wire structure, felt around it rather than repeatedly punching directly into it. Build wool layers over the armature and approach the area from a controlled angle that still keeps the needle straight.
When attaching wool to fabric, do not assume every textile behaves the same way. Thick canvas, heavy felt, or tightly woven material can resist the needle. Work in a small test area first. If the needle must be forced to enter, use a different construction method, such as sewing, adhesive suitable for crafts, or attaching a separate felted piece.
For home accents that combine several materials, planning the sequence helps. Felt the soft elements before adding hard embellishments. This is particularly useful for seasonal projects: felted pumpkins on an autumn table runner, wool hearts for a Valentine’s display, or small winter figures placed near window decorations.
Seasonal handmade styling often works best when different materials are allowed to do different jobs. A felted ornament adds warmth and texture, while washable window accents can quickly set the wider scene. For example, Wholesale OEM ODM Custom Four Seasons Holiday Gel Window Stickers, Personalized Pattern Size Gel Clings for Spring Easter Valentine’s Day St Patrick’s Day Halloween Thanksgiving Fall Christmas Party Home Decor offer reusable, residue-free TPR decoration for windows, classrooms, parties, and home displays. Keeping the soft needle-felted piece separate from the glass decoration also prevents users from trying to felt onto an unsuitable hard surface.
Do not ignore a bent needle
A needle that has started to bend is more likely to snap during the next few minutes of use. Stop and inspect it under good light. If it is visibly bent, replace it rather than trying to straighten it by hand. Straightening can create a weak point in the metal, and the needle may break unpredictably inside the wool.
Wear is less obvious but just as important. Over time, the barbs become less effective. Users may notice that the wool takes longer to felt, or that the needle seems to drag rather than catch fibers. This does not always mean the technique is wrong; it may simply be time for a new needle. Replacing a worn tool is preferable to increasing pressure and damaging both the needle and the project.
A calmer working routine protects both tool and project
Before each session, make sure the needle is firmly seated in its holder, the pad is stable, and the wool is positioned so you can work vertically. Keep spare needles in a protective case rather than loose in a drawer, where they can be bent or damaged. If you use a multi-needle holder, ensure all needles are aligned and enter the wool together; one uneven needle can take the full load and break first.
Most importantly, let the project develop gradually. Needle felting rewards patience. A controlled pace produces firmer forms, smoother surfaces, and fewer broken tools than hurried, forceful stabbing. Once users recognize the early signs—an awkward angle, a compacted area, a tired work mat, or a needle beginning to bend—they can make a small adjustment before a simple craft session turns into a repair job.
In the end, a reliable needle felting kit is only part of the equation. Good wool, stable crafting surfaces, and thoughtfully sourced decorative materials all support a more enjoyable making process. But the most effective way to reduce broken needles is wonderfully simple: keep the needle straight, use the right tool for the wool, and give each shape the time it needs to come together.
Leave A Message
If you are interested in our products and want to know more details, please leave a message here, we will reply you as soon as we can.

We specialize in supplying home decor, handicrafts, and daily necessities.


